The Router
I gave myself a STEPCRAFT D.600 as a gift: to build the parts for my robot that make more sense to mill from plastics or wood than to be printed on my Prusa i3 Mk3 3D printer.
After milling the first test pieces, I decided that the milling process is too loud, and I could not do that to my ears or the to the neighbours (The machine is located in my kitchen in my very small apartment). The my unscientific measurements below.
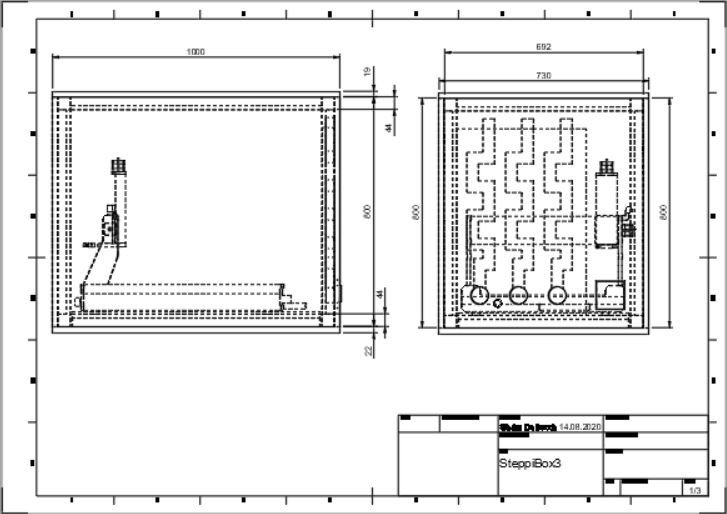
I did all my modelling work with AutoDesk’s Fusion 360 when I got my 3D printer, and one the first things I did when I got my StepCraft (Steppi), I built a 3D model, so I can properly plan the enclosure. It is available as a download on GrabCad here:
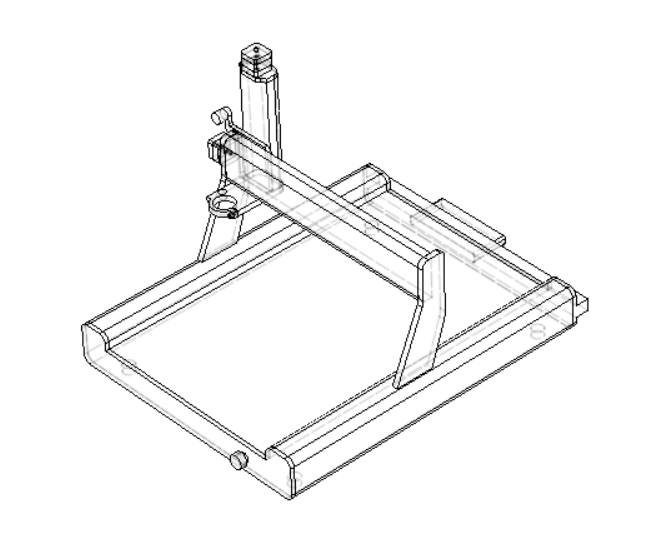
Here is a proper rendering of the model:
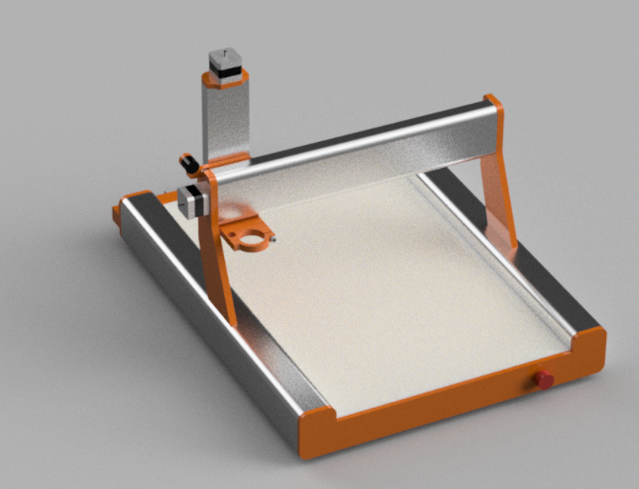
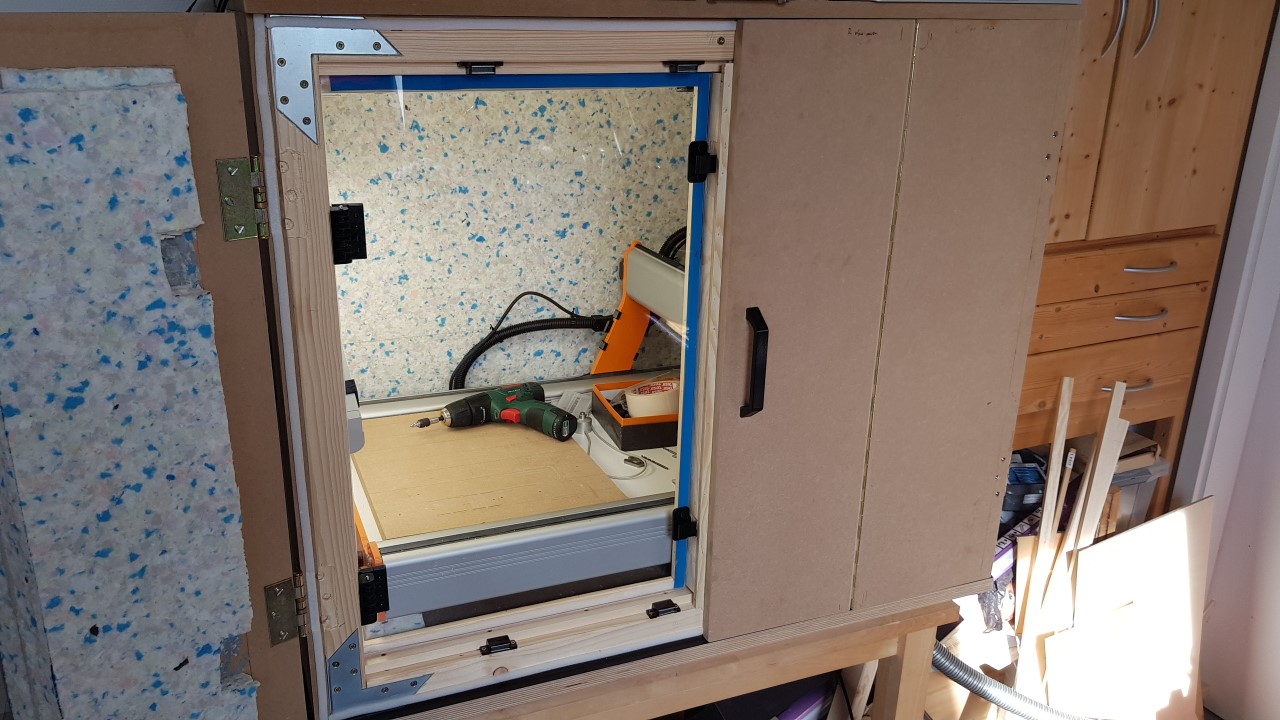
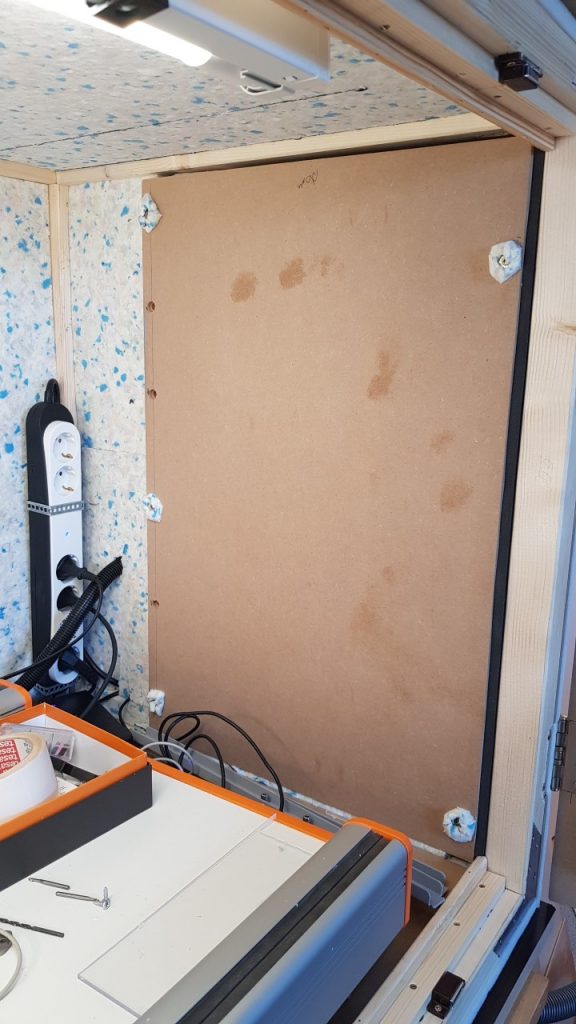
Note that this model is just an approximation, not a perfect model. I used it to plan the enclosure only. Here is an image of the current state, which is just missing some details, and is now fully useable:
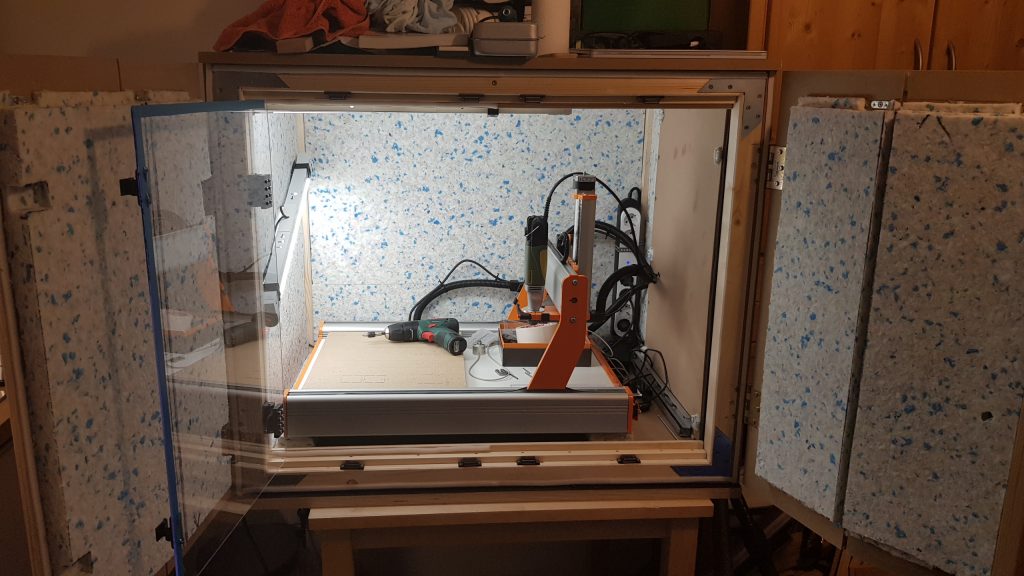
It would be nice to have a bit more room in there, but in my small kitchen there is no space for anything bigger. The first uses show that it does what it should, it is very quiet now.
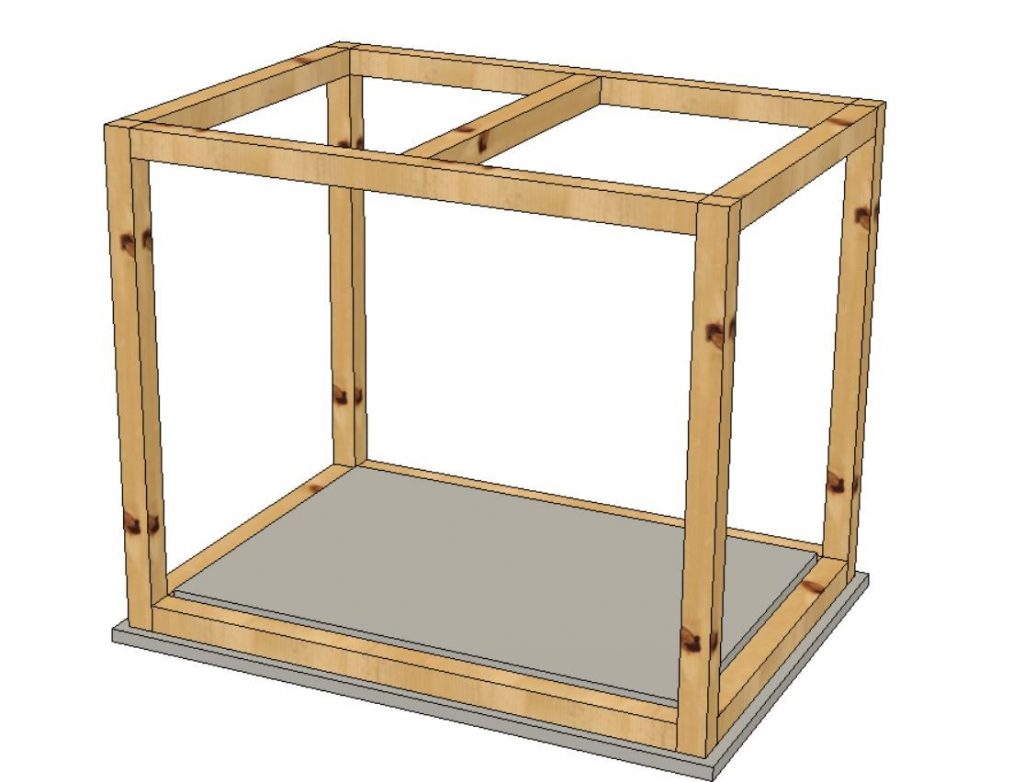
A rough overview over the building process:
The Build
The base plate is strong plywood, 23mm thick, anti-skid waterproof plywood board.
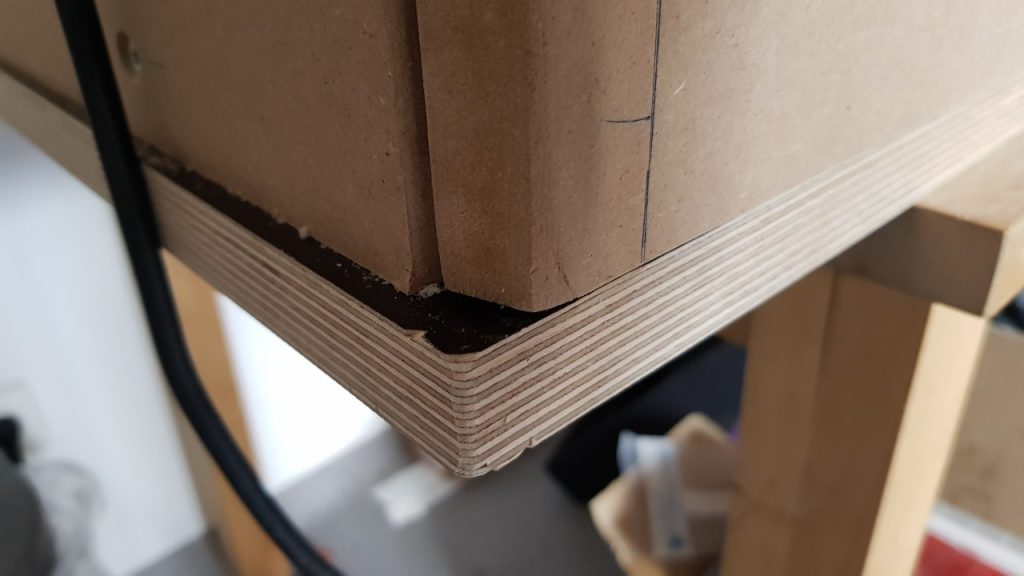
The frame is made of 44x44mm pine wood braces. I selected the strongest ones for the top. The braces are connected with wooden pegs and screws. The corners in the front and on the left side are reinforced with metal brackets to give rigidity, since there are doors. (Doors on the left side may be added later)
The outer shell is made of 18mm MDF. It turned out that the shop did not have the 19mm that I planned for. No big deal.
The shell boards are screwed to the frame, because the whole thing is too heavy to carry around. If the box is to be moved, it has to be disassembled first.
The inner sides of the boards are covered with 30mm of heavy foam (120kg/m³) to reduce vibrations. I needed 6 pieces of heavy foam (500x1000mm) with a lot of cutting and using the cut-off pieces. I used a special heavy glue for the foam.
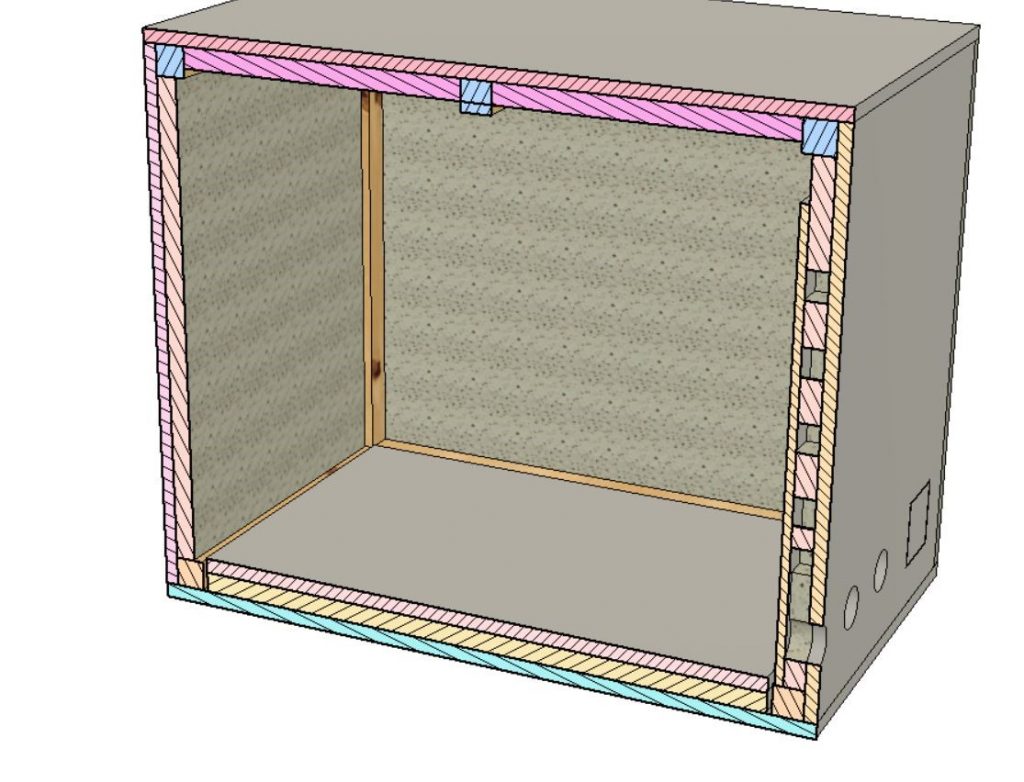
The CNC router is standing on foam feet on top of another MDF sheet, which is laying on top of a 40mm soft (and light) foam sheet, which I happened to have. This construction seems to work nicely, although a plywood board instead of the MDF board would probably better. I expect it to deform under the weight of the router over time.
The doors are also made of MDF, and they are hinged with some heavy metal hinges to allow the doors to open fully and swing freely. I selected special nuts that allow the screws to be removed easily without damaging the MDF for the hinges. I removed some wood from the frame for the hinges and the screws. With better planning, I may have made my life easier.
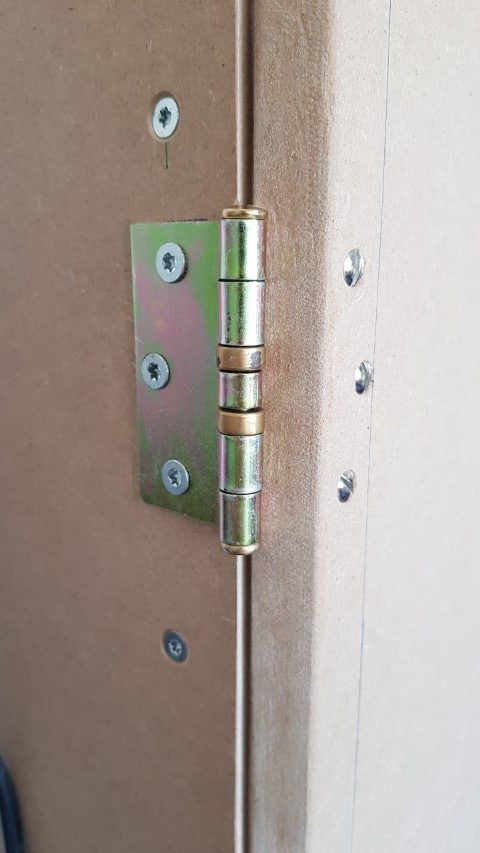
Hinges on the outside 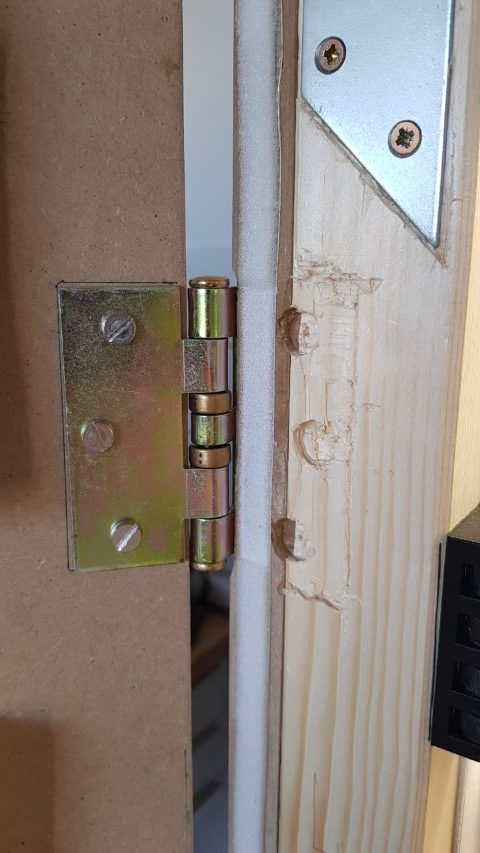
Hinges on the inside 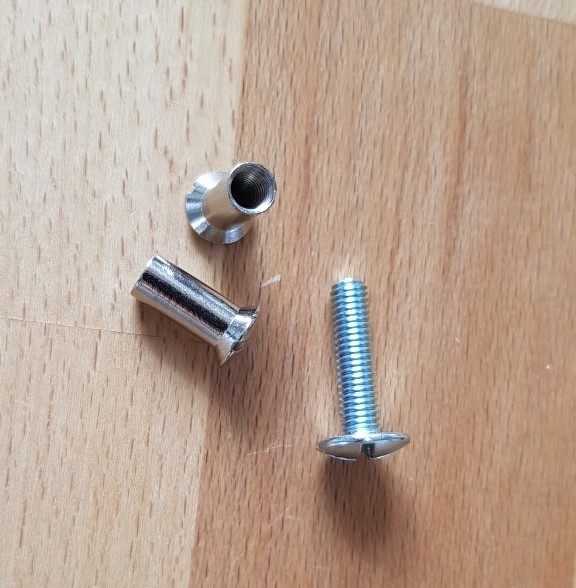
The nuts I used (with different screws)
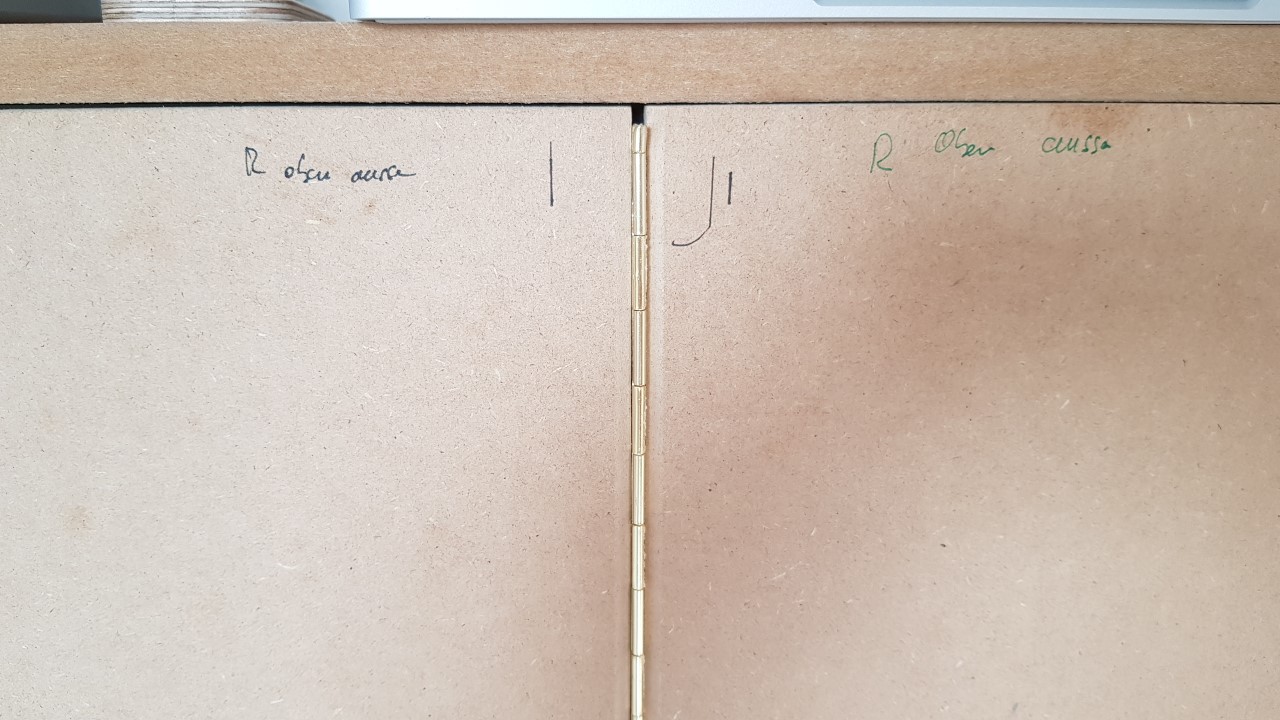
The doors are split in two halves each, such that they do not take up a lot of space. Sturdy piano hinges connect the two door halves.
The doors are held in place with four magnets each. I should have used stronger ones, as they are not really strong enough.
All the doors got a strip of insulation foam as is used for windows. This works nicely, but also puts some pressure on the magnets.
Closed doors 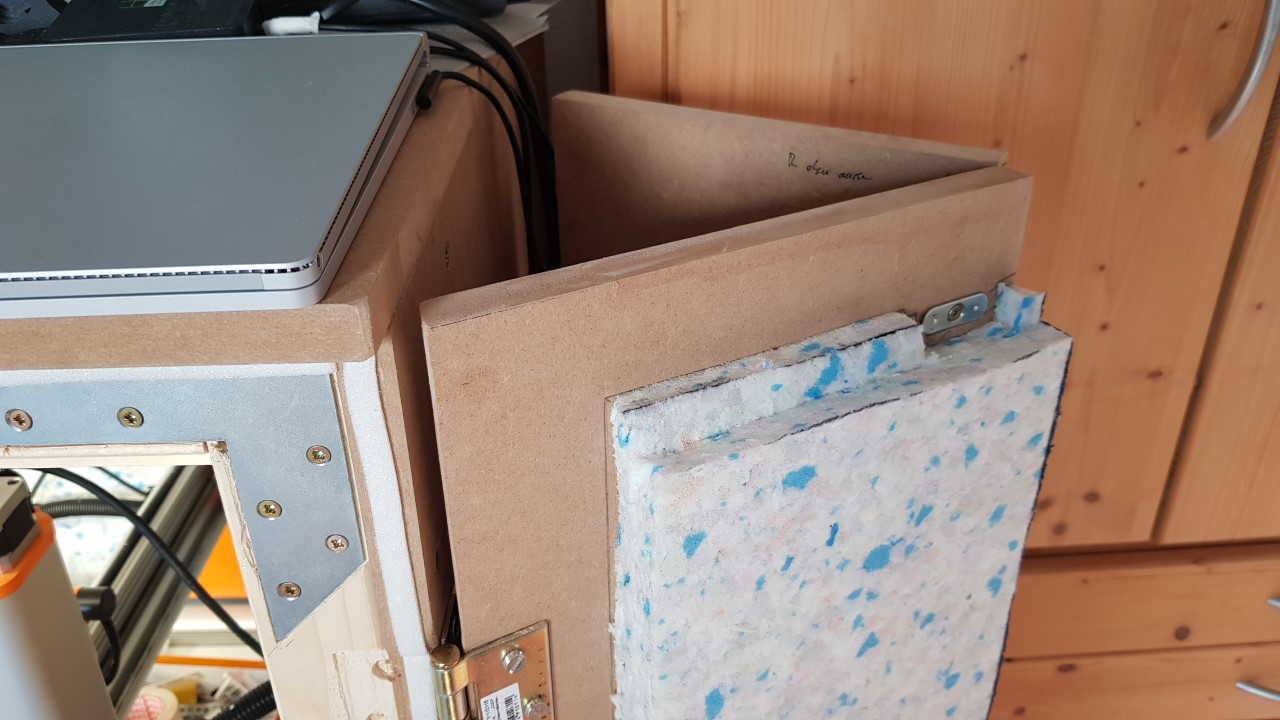
Space saving doors 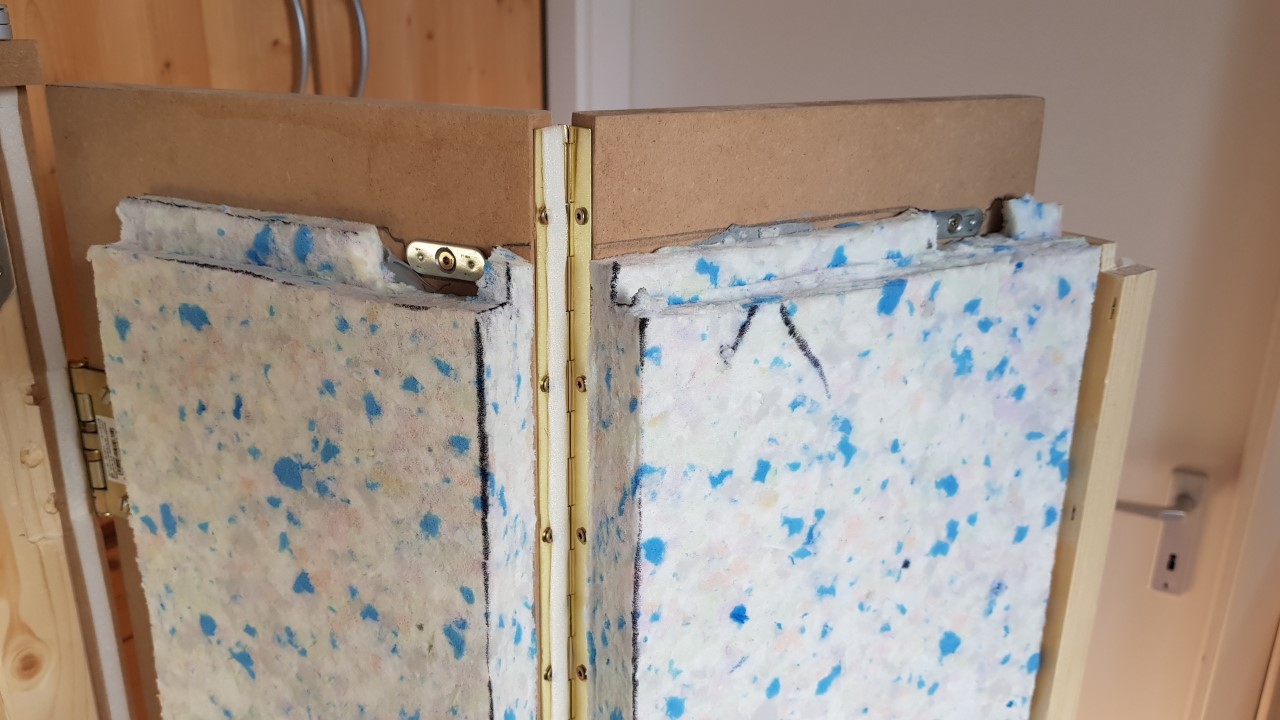
Piano hinges and foam
All the doors got a strip of insulation foam as is used for windows. This works nicely, but also puts some pressure on the magnets.
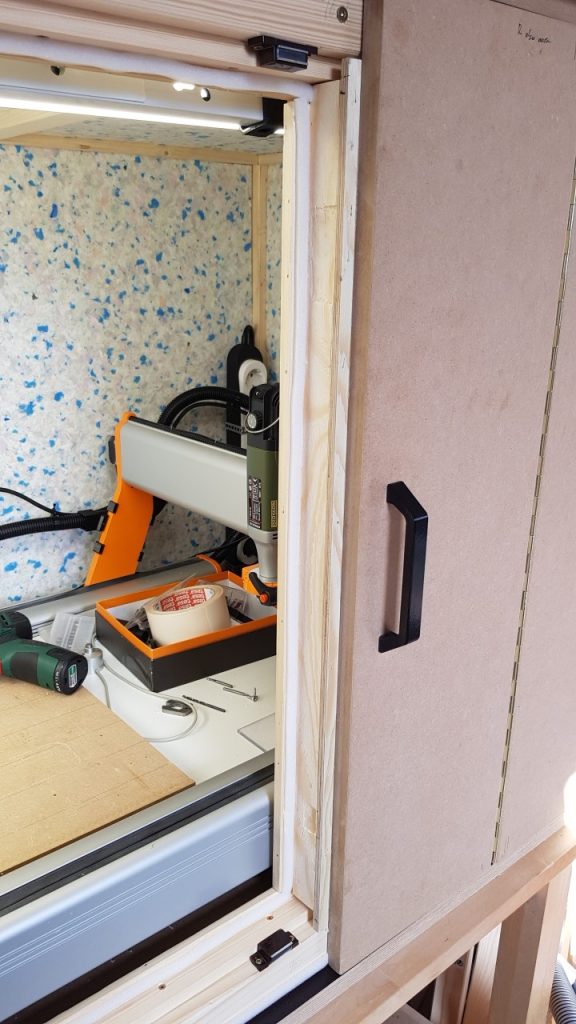
On the left side there is an acrylic door to allow me to watch the process. With just the acrylic door closed, I would guess that it is already 75% quieter, so closing the wooden door on the left is really optional.
The hinges for this door is 3D printed, and allows the acrylic door to swing open (270°).
The two locks for the door are also printed, and they also work very well: they open by pressing slightly on them. It works well if one has only a single hand available, because the pressure from the foam keeps the door open, once the lock has been pressed. All parts are printed using PETG which is pretty strong and not as brittle as PLA.
The acrylic door 
My printed locks 
The 270 degree hinges 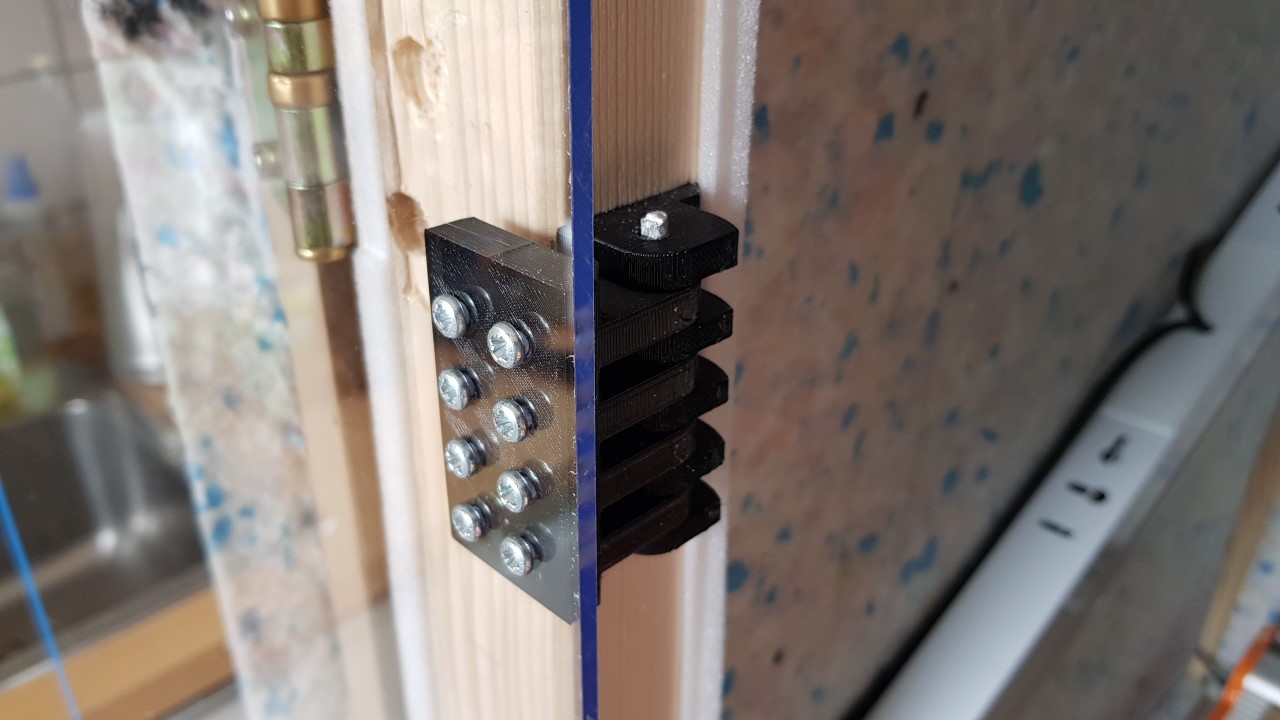
4mm acrylic door
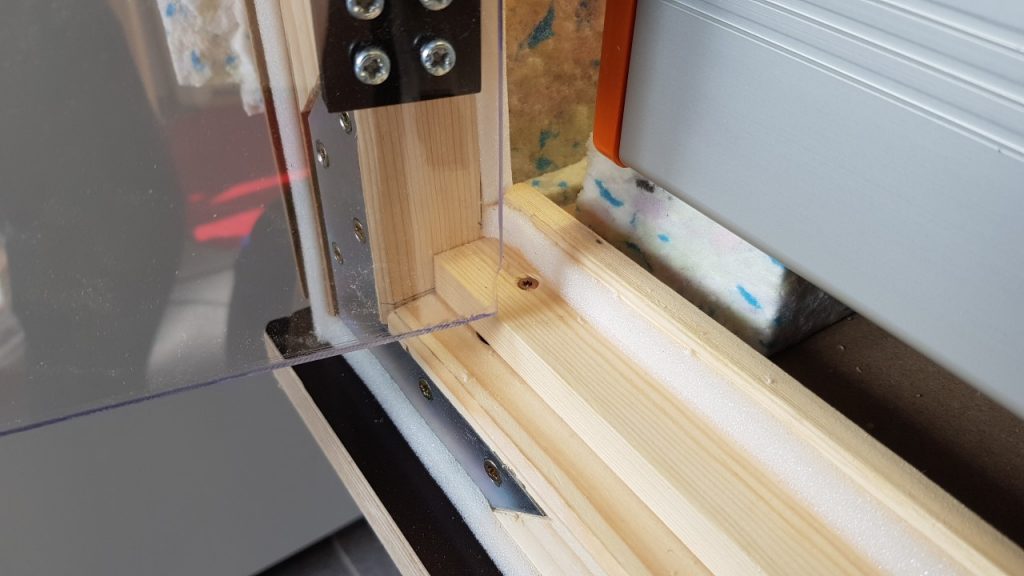
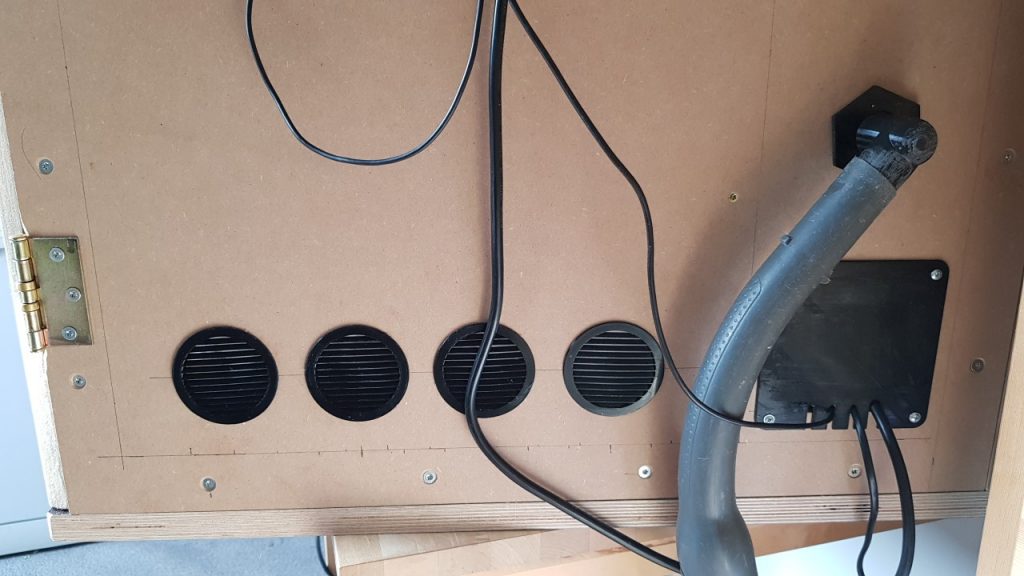
The right side of the box has openings for the cables, the pipe for the vacuum cleaner, and for fresh air. The inner board is decoupled from the frame and the outer board by some foam at the screws and the edges. That came as an afterthought, so it looks ugly and it is not part of the drawings.
The fresh air is led through a labyrinth of foam to keep the noise from leaving through it, and it actually works.
The connector for the pipes works very well, it is a three part assembly, one connector to the thin hose on the inner side, a nut, and a connector to the vacuum cleaner.
I added a power strip with an external foot-operated power switch (coincidental find), with two LED lamps (cheap ones from the hardware store. They flicker badly in videos…). I attached the lamps on the left side, on above the door, and one on the wall, which allows for good lighting where it is needed most.
The cover for the labyrinth, with foam all around, except at the top, where the fresh air comes in 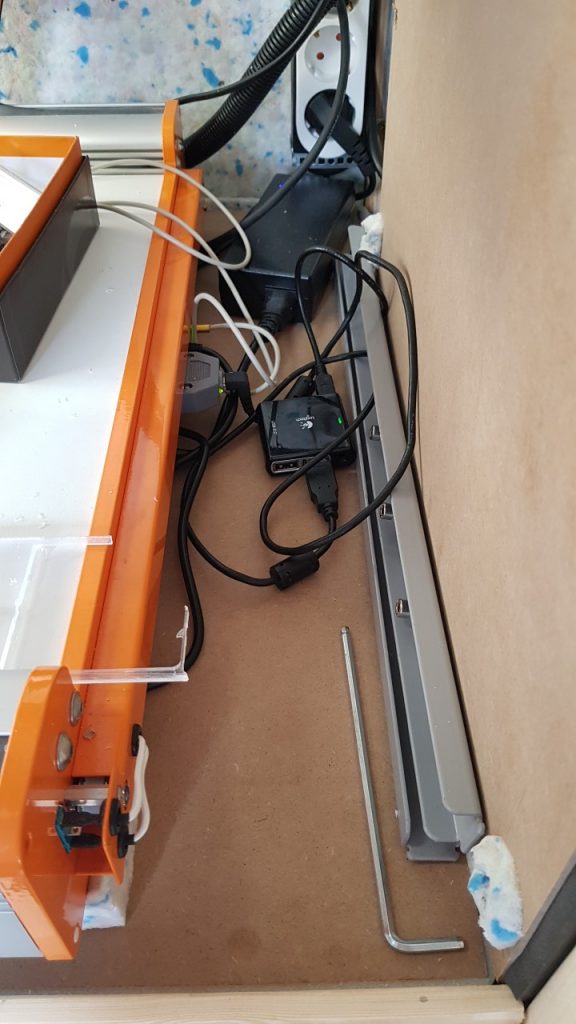
Just enough space… 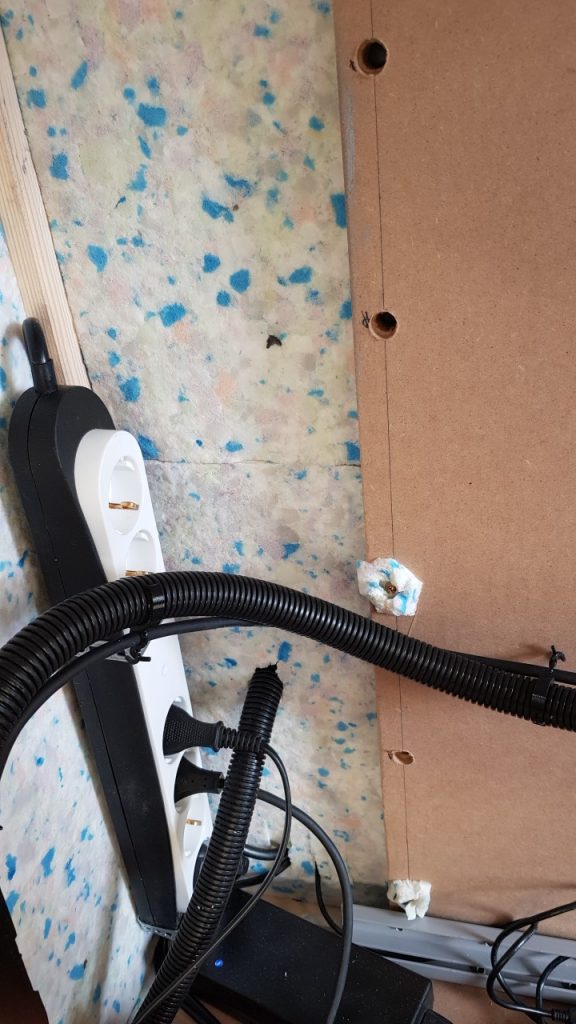
The hose and electric connections hidden by the foam 
The scientific air labyrinth The printed hose connector 
Measurements
I did some simple measurements on my android phone (Samsung S8) and the app “Sound Meter”, just to give you an idea. I switched on a Bosch UniversalMulti12 saw, and held the phone about half a meter away from the saw. I did not calibrate the app in any way.
| Situation | DB | Comment |
|---|---|---|
| Quiet room | 29 | |
| Saw outside, on top of box | 64 | decoupled from box |
| Saw inside box, left door open | 65 | lying on the MDF spoil board, vibrating the board |
| Acrylic door closed | 51 | already bearable |
| Wooden door closed | 38 | nice! |
So, I “measure” around 27db noise reduction, that is pretty good. My QNAP NAS is getting on my nerves at around 34db when it is on, since I am sitting very close to it.
From my experience, I can now use the 100W Proxxon “Mill” (PROXXON 28481 PROFESSIONAL DRILL/GRINDER IBS/E) at any time in my apartment, except at night. The household vacuum cleaner that I am using is much louder, although it is not particular loud.
I feel confident to switch to the 500W StepCraft HF spindle which is supposed to be pretty quiet, without angering my neighbors. I have not yet worked with aluminum, this is probably way louder. Then I will have to set feeds and speeds accordingly, I guess, and not work at sensitive times.
Future Enhancements
- Add an emergency power-off button
- Painting the box in matte white, using oil based paint.
- Raspberry Pi with video cams to stream the views, check the temperature and measure smoke and dust.
- A controller to move the router around and some buttons. A Teens-LC, some micro-switches and buttons, some work in Fusion, a bit of soldering. FUN!
- Dust extraction using a brushless motor (no small one), some printed parts, a cyclone thingie and professional filters. Should be cheaper than the 500€ pro vacuum that has a proper filter.
- Improved hose handling
- Storage of milling tools and accessories
- …
Afterthoughts
If I would do it again:
- Plan for two acrylic doors, as I have to open the right door all the time anyway to access the spindle.
- Plan the “labyrinth” air supply properly